
Table of Contents
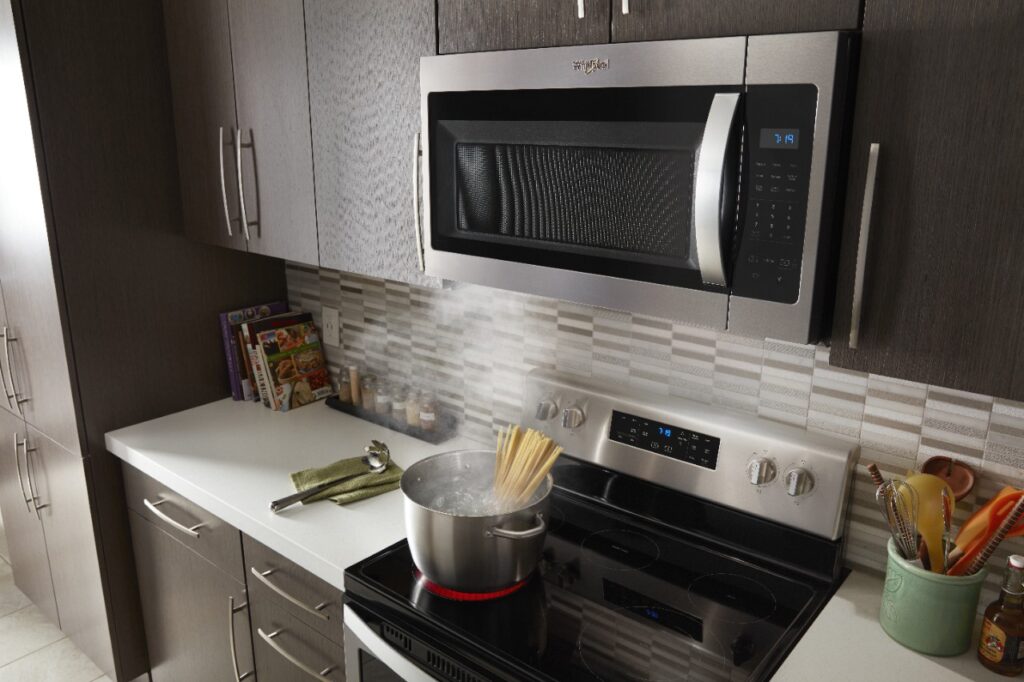
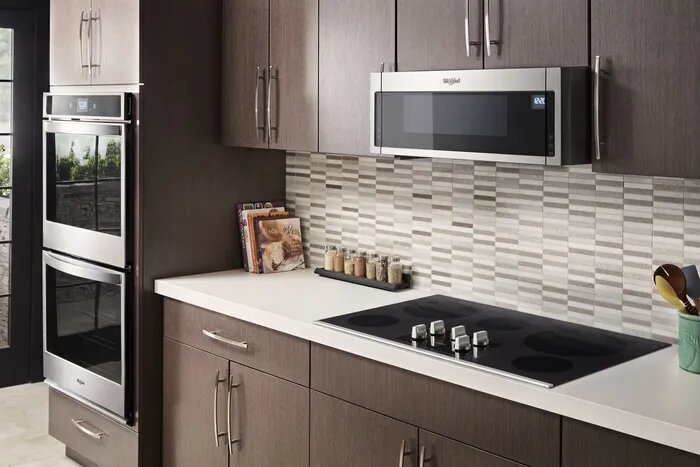
In order to provide light to the stovetop area, the Microwave oven comes with a vent fan and a fixed light. The vent fan is also built-in. The Microwave oven is supposed to be placed on top of a variety of cooking range. The upper cabinet conceals the connections of the vent and the electrical outlet. The Microwave oven is situated above it and between the joined cabinets of the wall. The vent fan as well as the range hood can be replaced by this Microwave when installed to a kitchen.
There are a variety of range Microwaves that offer different features. Some popular and high quality range Microwaves utilize external vents that send the air outside through ducts. These ducts are present on roofs and on exterior walls. While some ordinary over the range Microwaves employ recirculating fans.
The steps in the process of installing a Microwave oven are:
- Setting up a new electrical outlet
- Making piercings for the vent cap and the duct cap
- Fixing the vent cap and the duct cap
- Installing wall bracket
- Creating cabinet pathways
- Setting up the Microwave vent
- The placement of the Microwave
- Attaching the ducts
- End of the process
Setting up a new Electrical Outlet
It is necessary for a Microwave oven to have a 20-amp circuit which solely serves it. This is mandatory for building codes. In addition to this, it must not be used for using other appliances. Hence why, a newly installed electrical circuit will probably be obligatory and it and the power cord of the oven will be attached to it. The optimal position to install the wall outlet would be in the upper cabinet. The area on top of the Microwave in the upper cabinet is usually where the power cord goes. This is the case with majority of Microwaves available in the market.
Making Piercings for the Vent Cap and the Duct Cap
Determining the area through which you will vent your Microwave depends on your convenience and accessibility. This area can be the back of the unit with the duct tape going through the wall or it can go from the top with the duct tape going through the cabinet and the roof.
The fan will work best with the length of the duct tape being not too long. Its direction should not be zig zag rather it should be linear. The most convenient option is the exterior wall installation. If this isn’t possible then you can connect it to the vent cap present on the roof.
To cut the hole on the wall or in the inside of the upper cabinet, use the template that came with the Microwave. .
Ductwork passing through Wall
Paste the template on the inner side of the wall and mark the place where the vent will be put up. Use a jigsaw to make the hole and outline of the area where the vent cap will come (which will be on the outer wall sheath). Also, drill holes on the sheathing. Using the holes as a guide, draw an outline of the vent cap. Cut out the outside of the sheath with a jigsaw.
Ductwork passing through the Roof
Once again, paste the template on the base of the upper cabinet. Mark the position where the vent opening will be and make holes on its corners. Then cut it with a jigsaw. Repeat this process for the rest of the locations where the ductwork will pass through. For the roof specifically, outline the cap collar on it and drill holes in it. Then, carve a hole for the vent roof cap.
Setting up the Vent Cap and the Duct Cap
Follow the instructions in the manual which state to use nails to fix the flanges in place. But, before that, apply roofing cement or silicone caulk. Furthermore, in order to avoid leaking, apply caulk below the roofing cement. The same should be done to fix the wall vent caps properly.
Use sheet metal screws to fix a section of the duct to the inner collar on the vent cap. Next, you should use metal tape to seal it. Repeat this process for all sections. For the last section, make use of metal shears so it goes with the surface of the wall.
Placing the wall bracket
Having knowledge about carpentry is necessary to carry out this step. Majority of Microwave ovens make use of a bracket that is set up on the wall. The bracket is fixed with the aid of bolts which pass through the top cabinet. The oven is supported by the bracket.
Place the wall-mount with it aligning the straight line. The length of the bracket depends on the Microwave and cabinet arrangement. Drill holes and place the bracket on the wall. Fix it with wood screws.
 Creating Pathways in the Cabinet
For the Microwave’s power cord and the mounting bolts, make holes in the base of the upper cabinet.
Paste the template on the base of the upper cabinet. Mark the places where the holes will hold the Microwave oven then drill them. Utilize mounting bolts for this job. Also, make a bigger hole for the power cord with the help of a spade.
Prepping the Microwave Vent
Usually you are going to find Microwaves having rectangular exhaust openings. In case of round ductwork, a transition collar may be required. The collar is going to help you connect the Microwave by tailoring the shape of the ductwork according to your requirements.
A transition collar must be utilized to transform the shape of the ductwork. Usually, the openings of exhausts are rectangle in shape. If the ductwork you are working with is circular in shape then change it to a rectangular shape. This is why a transition collar will come in handy. Also, this is mandatory so that connection to th Microwave can be maintained.
The Placement of the Microwave
As Microwave ovens are not light weight, it is advised to take help from somebody to help position the machine. Slowly, hold the Microwave oven and pass the power cord through the hole (made previously). Fix the bottom edge of the machine on the bracket of the wall. Hold the Microwave in such a way that its back is against the wall. Lastly, put on the bolts through all the holes you had made before.
Doing the Ductwork
You have to attach all of the metallic ductwork to the opening of the vent present on the Microwave. The attachment of the ducts depends on whether venting has been done on the top or back.
In the case of back venting, the duct work must be done well. So that, the vent fitting of the Microwave fits along with the collar of the outer vent cap. However, small changes are required to attach the duct and the vent of the Microwave.
In the case of top venting, cut and fit the last portion of the duct accurately. It will pass through the top area of the upper cabinet and then through its base. The amount of duct used for this is generally small. It’s short and tough metallic duct. If the attachment has been made, then seal the joints with more metallic duct tape.
End of Process
You have almost reached the end of this process. Just set up the Microwave’s grease filter. Switch on the circuit breaker by inserting the Microwave oven in the electrical outlet. You can pop a container of liquid preferably water to test if the Microwave oven is doing the job correctly. Make sure you don’t turn the Microwave oven on without anything present in it.