Table of Contents
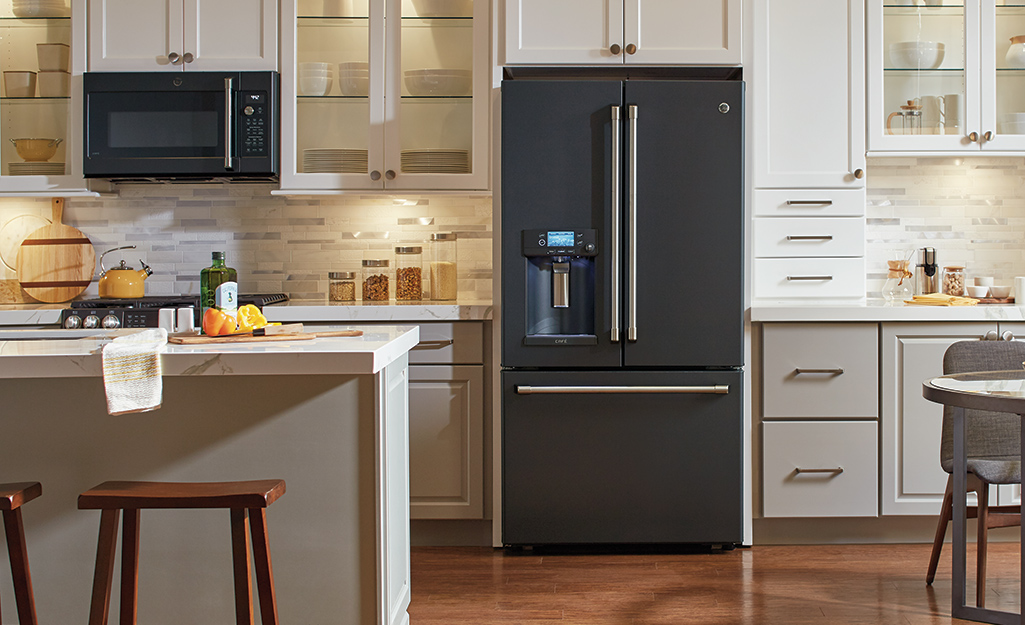
Microwave over the stove or what you commonly refer to as over-the-range Microwaves have become more popular than ever. They can help you efficiently utilise your kitchen space and improve ventilation. Many people normally have to call a professional to install them. However, that is not always necessary. As long as you are following all the instructions properly, it can turn into a DIY project.
Contrary to what people normally think, you do not require any fancy tools to install a Microwave over the stove. In fact, with over-the-range Microwave, most of the necessary things you need come along with the package. As long as the available space is just enough to accommodate the Microwave, and you have high-quality brackets, the job can be done safely.
It is important to note that you need an electric outlet near the area you install the Microwave for power. Once you check-in with space, the brackets and the power source, all you need to do is put in a couple of hours of work.
So, what steps do you need to follow to safely install a Microwave over the Stove? Let’s see.
 Part 1: Make the Preparations
Determine the Required Space
Start by unpacking your Microwave kit to see if you have everything you need. After all, you can only begin once you have made sure that you have all the necessary parts. Otherwise, it can be frustrating to see that you have finally started only to find out that you lack a crucial part.
Find the Instruction Manual
Even though we are going to discuss how you can install an over-the-range Microwave, going through the instructions is still useful. It can provide you with a general overview of how you could get things done.
Most of the times you are going to find an instruction manual inside the box your Microwave came in. If it is not there, then consider contacting the place you purchased it from.
Switch off Main Power
When you are installing an electronic appliance, there is nothing as being “too careful”. Even though the power of your Microwave is turned off, this still does not mean you are completely safe. It is normally recommended that when you are venting a Microwave to the wall, you also switch off the main power source.
Turning off the breaker is going to help you reassure that you can carry out the job without any worries. After all, in matters involving electricity, it is always best to be on the safe side.
Part 2: Make the Arrangements
Nearby Electrical Outlet
One of the most important parts of installing a Microwave over the stove is to locate a nearby electrical outlet. Now, even if you do not have an electrical outlet nearby do not worry too much. Usually, your Microwave is going to come packed with a short power cord. If it is not, you can always purchase one from your nearby electrician shop.
Although do check inside the nearby cabinets. The chances are that you will find an electrical outlet inside one. If nothing works out for you, contacting an electrician is still a viable option.
Check Height
The Microwave should not be higher than 54 inches from the floor. Otherwise, you might face problems operating it. Also, it is recommended to leave some additional space at the top for ventilation as well. If this sounds too complicated, do not worry. You can simply use a measurement tape and follow the measurements we have just mentioned and you are good to go.
Ventilation Direction
Usually, modern Microwaves come with a built-in fan. However, it is still recommended to leave some space for ventilation, as we mentioned above. The direction of the ventilation is also an aspect to take into consideration.
In case you do not have a ventilation system already, call a professional to get it installed before proceeding with the installation of your Microwave.
Reframing the Cabinets
The brackets of your over the stove Microwave are supported by the cabinets. Normally, they are going to be sturdy enough to hold the weight. However, it is always best to be on the safe side and properly inspect them as well. Even if you have the slightest of feeling that they are not sturdy enough, then get them reframed.
Most of the times, the bracket that comes along with the Microwave is sufficient. However, double-checking the quality of the bracket is also recommended to be on the safe side.
Part 3: Place the Microwave
Finalise the Location
Before you proceed with the installation of the Microwave, first see if you have an installation template. Most Microwaves come with one to provide insight to the people on where they should place the Microwave. However, if your Microwave does not have one, then do not worry.
You can always do this manually and mark the selected area with a market. Then properly measure whether the Microwave would fit in that location or not.
Find a Stud
Some people think that finding a stud can be challenging. However, all you need to do is make a couple of knocks at the wall. The best way to identify a stud is by noticing if you hear a dull sound after the tap. If you do, then good going, you have found a stud.
Drill Hole
Usually, you are going to find bolts with your Microwave to help you install it. However, if you do not, you can always purchase them. Start by drilling the necessary holes, depending on the design of your wall plate.
Once that is done, simply install the wall plates at that location and make sure that they firmly hold onto the position.
Set the Microwave
Having someone to assist you for this step can always be useful. Setting the Microwave alone can be a bit problematic, and dangerous too if it is heavy. If you think you cannot do it on your own, ask someone to give you a helping hand. Pick up the Microwave and set it at the wall plate that you have just framed.
Plug the Power
Carefully manoeuvre the power cord of the Microwave around the frame and towards the outlet. Plug the power in and make sure that everything is in place. However, do not turn the main power from the breaker on just yet.
Inspect the Bracket
Once everything is in place before you switch the power to make sure that everything is in place. Thoroughly inspect the brackets to see if they are properly mounted. If you think that the bolts are loose even the slightest, make sure that you properly tighten them.
Connect the Fan
Set-up the proper ventilation system. Whether you are connecting the blower or the fan, make sure that your Microwave has adequate ventilation before you switch the power on. The kitchen can already be hot and installing the Microwave over the stove really doesn’t help either. So, to extend the life of your Microwave, thoroughly check the ventilation system.
Time to Test
Now everything is set and done and you are ready to go. Turn the main power off to see if everything works fine. You can either run the Microwave empty or place something inside it. However, make sure that it is a glass plate because you never want to put any other object inside the Microwave (especially metal). Turn the Microwave on, and if it works fine, then your project was a success. If it doesn’t, then there may be something wrong with your power outlet so inspect that.
Bottomline
Most people find over the stove Microwave installation to be a challenge. However, if you follow everything step by step, then it can normally be done effortlessly. This is why we hope now you know how to get the job done properly. If you are still struggling to install it, then you can always call a professional to help you out. But mostly, if you are following the instructions properly, it should not be a problem.
The most important part of installing a Microwave over the stove is to check if the brackets are mounted properly. Other than that, as long as you have an electrical outlet nearby, the rest of the process is simple.