
Table of Contents
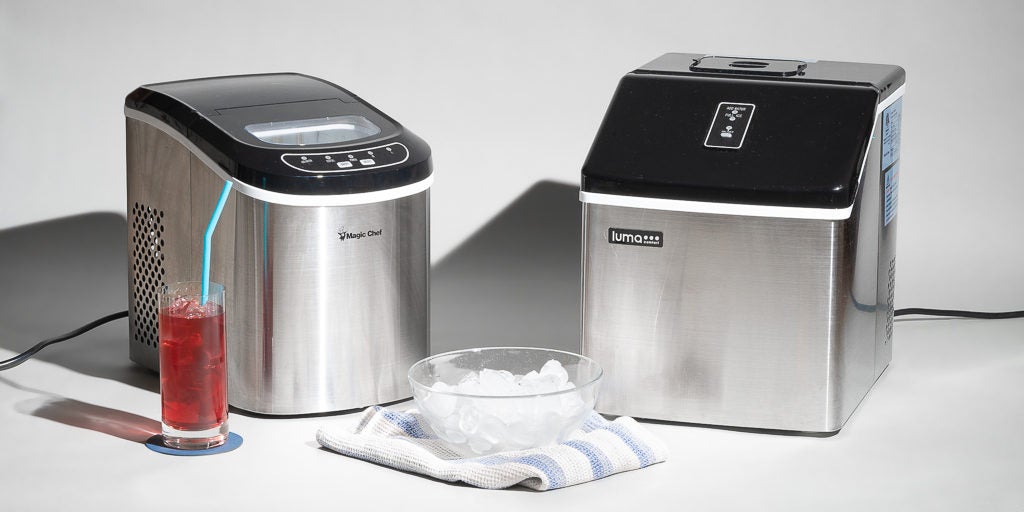
The Ice Maker is perhaps one of the best inventions that exist in our lives. You might not particularly find yourself appreciating it too often but when the need arises, it serves its purpose quite diligently.
One would say that they’re a must-have during the summers, which is true to a large extend. However, its importance exceeds to a greater extend. Not only will you find it as a ‘must-have’ at your home but also literally anywhere you can think of.
Ice makers are commonly used at restaurants, bars, sports events, picnics, parties, and almost everywhere. Having said that, irrespective of the occasion, if you’re the one who’s responsible to host your guest then this appliance is surely the one to befriend.
Moving forward, Ice Makers just like any other appliance is subject to faults and repairs. However, before you conclude that your appliance needs maintenance or a repair, it’s a must that you know “How to Test the Ice Maker?”
What Is a Water Valve?
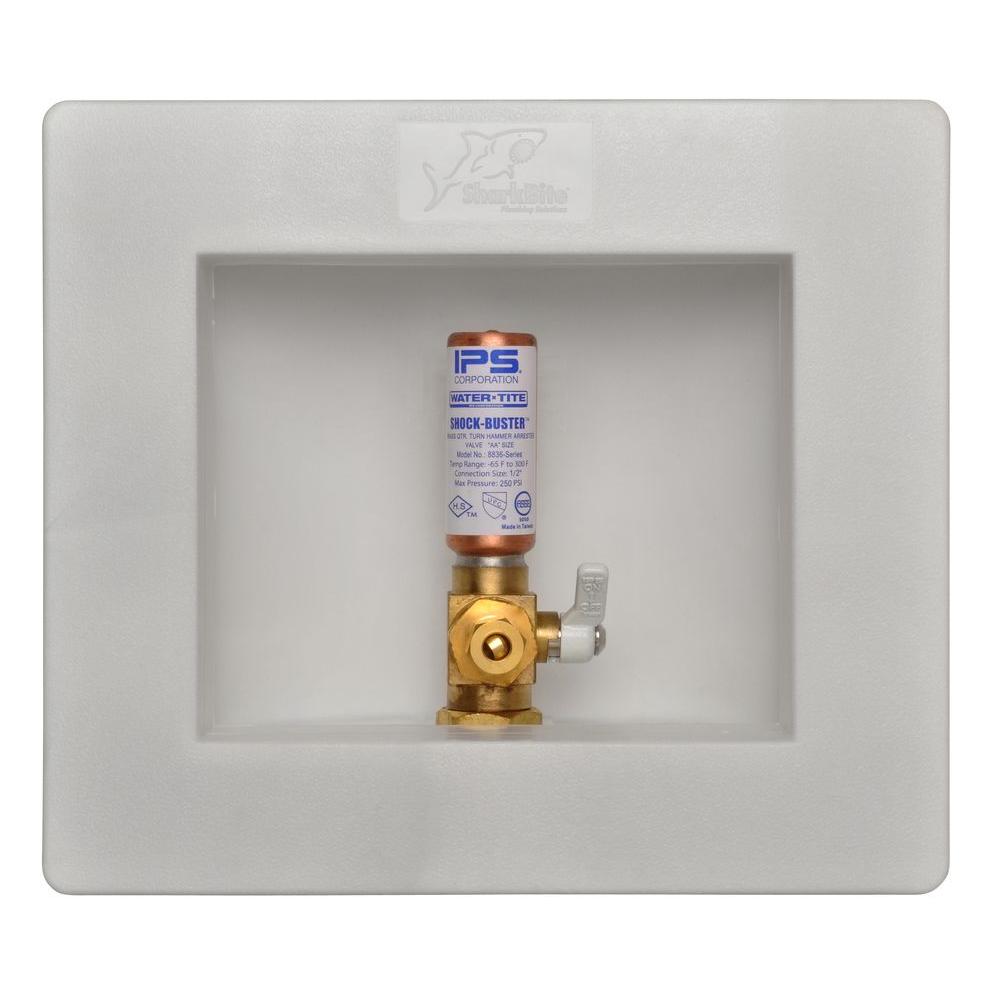 A Water Valve, also known as the water inlet valve, is a valve based on electro-mechanical components. The valve allows the water to flow freely or as required by the Ice Maker.
Having an issue revolving around Water Valve is an uncommon occurrence. However, there are many instances where the real problem lies in the Water ‘Inlet’ Valve. Having said that, it is always good to conduct an inspection and know How to Test the Ice Maker Water Valve.
How to Test Ice Maker Water Valve?
Usually, it is quite concerning when water fails to reach the ice cube tray. This can serve as a potential indicator that there’s a problem with the Water Valve of your Ice Maker.
Although not quite common, there’s a possibility that your Ice Maker may have choked the water line attached to the water valve. If not that then it may be the water filter that’s clogged causing low to no water to flow in your appliance.
In case, if none of these reasons is the real culprit behind the poor performance of your Ice Maker then you may have to dig in deep and take a good look at the Water Valve.
How to Check the Water Inlet Valve for Electrical Failure?
Step 1: Shut Off the Water Supply and Unplug Your Ice Maker
Before you begin, make sure that you’ve stopped the water supply from reaching your appliance. Also, be sure to have your Ice Maker unplugged from its power source in order to avoid any serious mishap.
Allow your appliance to rest for around 30 minutes to drain any stored surge of energy before conducting an inspection.
Step 2: Make Sure You Have All the Required Tools and Gears
The right tools can help you conduct a reliable test. That said, while dealing with any electronic appliance, it is a must that you take proper precautions and wear proper protective gear. Following are things you will require while conducting the test.
- Dry Cloth or a rag
- Multi-meter
- A bucket
- Pliers
- Screwdriver
Step 3: Make Your Way to the Water Inlet Valve
Pull your Ice Maker to a place where you can easily access the Water Valve. Place a bucket under the valve to avoid the drain from making a mess. Once that’s taken care of, you will need to loosen the nuts commonly situated on the brass fitting. You can also use a wrench to help you loosen the flare nuts.
Now make your way to the water inlet valve. The inlet valve is mostly held in place by a metal bracket; therefore, you may need to make use of a screwdriver to remove it. Carefully remove the screws from their respective brackets and gently take out the valve from its cabinet.
While doing so, make sure to also remove the water tube from the outlet port.
Step 4: Pull Out the Wires Carefully
Generally, you will find the terminals of the water inlet valve connected by two wires. In case if your Ice Maker has a double solenoid water valve then you will find four wires connected to the terminal.
Now before you remove each wire from its terminal, make sure to label it so you place it back in the correct order.
To safely remove the wires from their place, firmly hold the metal connector and gently pull the wire out. In some instances, you may require assistance from needle-nose pliers.
Step 5: Make Use of the Multi-Tester
To begin the test for continuity you will have to make use of the Multi-meter. Start by setting the meter to R X 1 ohms. Now place the lead of your tester in each terminal. The multi-tester will evaluate and will display its readings for the respective terminal.
The readings should range between 200 and 500 ohms. Although the reading range is mostly marked on the valve by the manufacturer, therefore, carefully examine the water inlet valve for such markings.
Step 6: Compare Your Findings
Note the readings for each terminal. Compare those readings and see if they fall between a range of 200 and 500 ohms. In case if the water inlet valve fails to produce results that fall in the given range then you will need to replace that component.
How to Check the Water Inlet Valve for Mechanical Fault?
At times it is the mechanical issue that causes the Ice Maker to act up and not function properly. In order to examine the problem, here’s what you need to do:
- Begin by removing the water supply line from its valve.
- Place the end of the water line in a tub or a bucket.
- Allow the water to flow to the supply line and observe the flow of water carefully.
If the flow of water appears to be weak or slow then the water supply is the problem. However, if the water flow appears to be strong then it could mean that the water valve is clogged.