Table of Contents
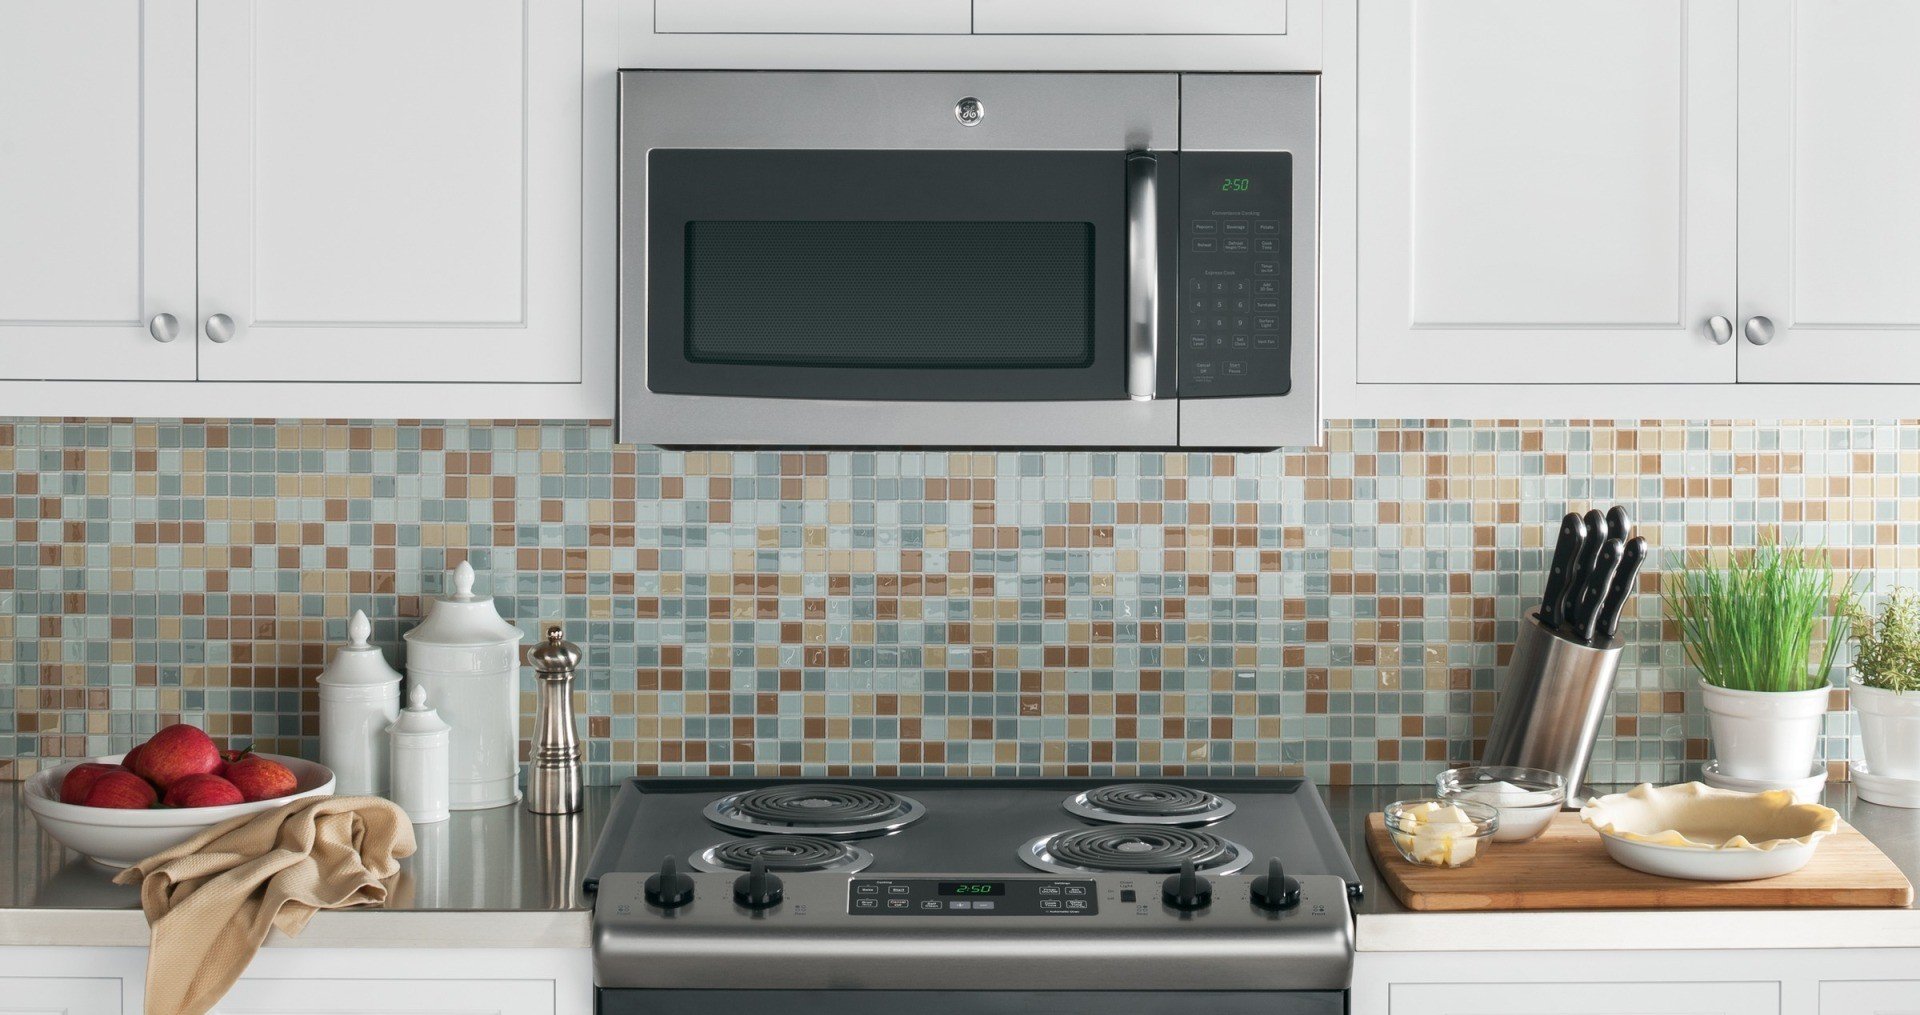
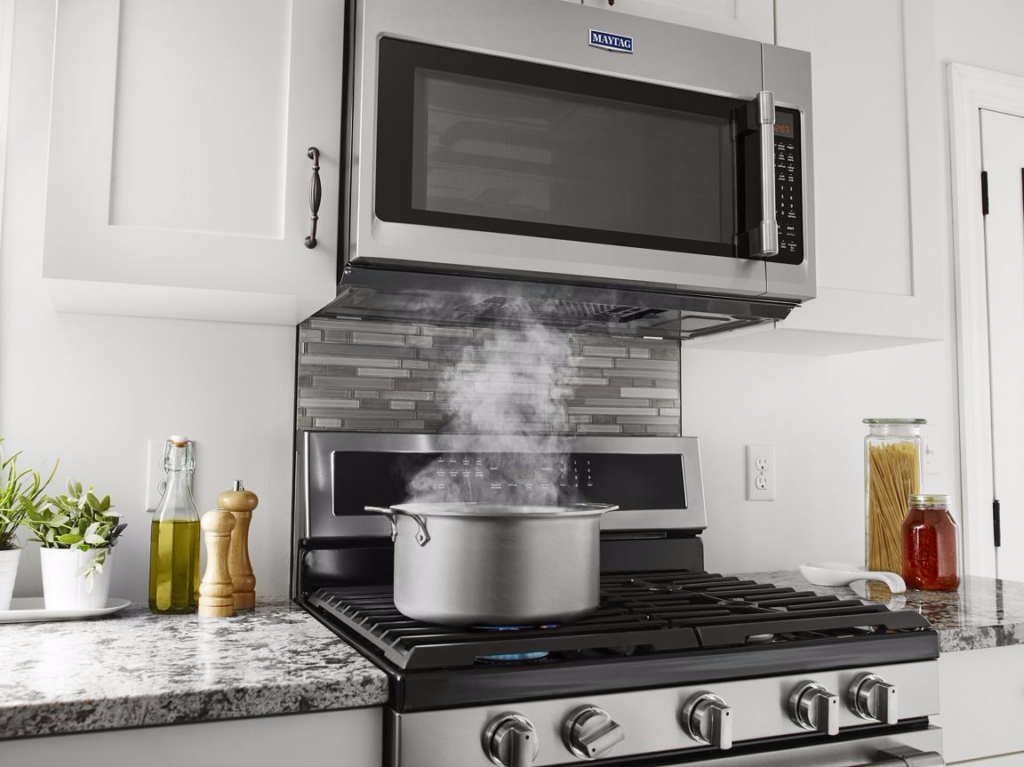 Improper ventilation can fill your kitchen with cooking smoke. For making a good ventilation system, you can follow either venting a wall or charcoal. Venting a wall is much preferred than the charcoal method, though the charcoal cleanses the smoke and oil, yet the Vented wall system totally throws out the smoke.
In case you are wondering how you can install a microwave vent for your microwave, you might have landed in the right place. Here we have a detailed guide that could help you to fling out the smoke from your oven.
 Here are the steps and methods that work out for proper venting:
- In case you already have a Microwave and want to build new ventilation for it, remove the microwave from its original position.
- Now, figure out the cut-out position for the ventilation duct. For this, mark the four corners of the opened area.
- With the help of a straightedge, and club the marks on the vent area on the wall. Find the highlighted lines and cut through them and sharpen the edges. With the help of a ½ inch masonry bit, make the pilot holes in corners on walls and keep the drill horizontal at 90 degrees.
- Go to the outside of the kitchen and locate the vent. With the straightedge, mark the outward edges of pilot holes. Ply a ¼ masonry bit and make little spaced holes through the render and ply wall. Be careful to keep the holes aligned with the edges and keep steady the drill horizontally and at 90 degrees.
- Take out the render placed inside with the help of a cold chisel and hammer. After this, with tin snips, trim the back of kitchen wire render. Getaway with the leftover ply wall clad by using a wood chisel and hammer.
- Wear your gloves and take out the fiberglass insulation from opening.
- From the microwave, take out the exhaust fan backing plate. Cut and remove the marked holes.
- Now, spin the fan such that the fan points towards the vent opening present inside the house. Insert the motor in the microwave by placing the fans in this position only.
- The next step is to install Exhaust Diverter. While installing the diverter, make sure that it points towards the vent opening in the house.
- Take the measurement of the distance from the outwards of the vent to the place where the microwave is. Maintain this measurement in the duct of the vent.
- With the help of tin snips, adjust the duct up to the required measurement.
- Ply a tube for outdoor silicon seal in the vent cap. Place the tube in a zigzag manner and attach it with bolts.
- Install the microwave and put the power cord into a switch to make sure that the microwave and the ventilation are working properly.
- Voila! You’re done with the installation process.
If your microwave comes with charcoal vent, then you must know that the quality of charcoal deteriorates over time. Hence proper duct ventilation is preferred over the charcoal one. We hope this guide helped you understand clearly on how to vent a microwave through the wall.