Table of Contents
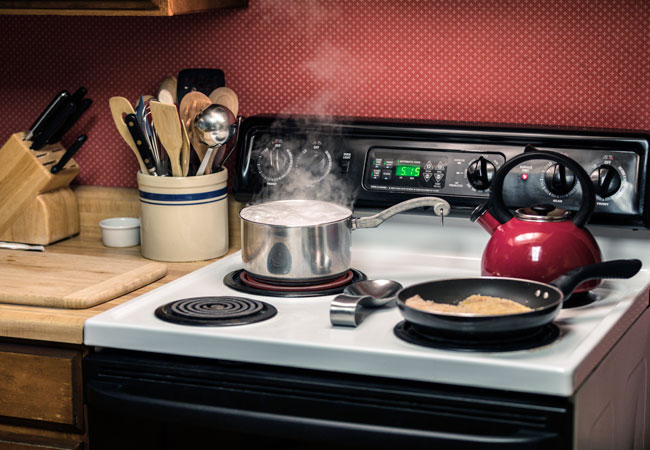
Cleaning the Drip Pan can be one of the most frustrating parts of keeping the stove clean. No matter what you do, at the end of the day, you would find them covered with the residue of overflowed pots. Some people do suggest that covering the Drip Pan will aluminium foil will help. However, that is just a temporary solution. Changing the aluminium foil every other day can be a hassle. Also, if you are keen about the presentation, then a wrinkled up aluminium foil is not particularly going to look good.
You might be thinking that it is impossible to keep the Drip Pan clean. However, if you do it right, then it can actually become easy. So, what steps you can follow to keep your Drip Pan clean? Which materials do you require to make the job easy? Let’s have a look at it.
Method 1: Combining Baking Soda and Dish Soap
This is one of the fastest methods to clean your stoves. The most important things you need to follow this method is a bar of dish soap and baking soda. Although some other materials are also necessary, but the job can still be done without them. By the time you are done with this method, it would surprise you how your Drip Pan would begin to shine again.
Tools and Materials Required
- Scrub Brush
- Rag
- Sponge
- Liquid Dish Soap
- Trashcan
- Baking Soda
- Bowl
- Dishcloth
- Pastry Brush
Step 1: Remove Drip Pan
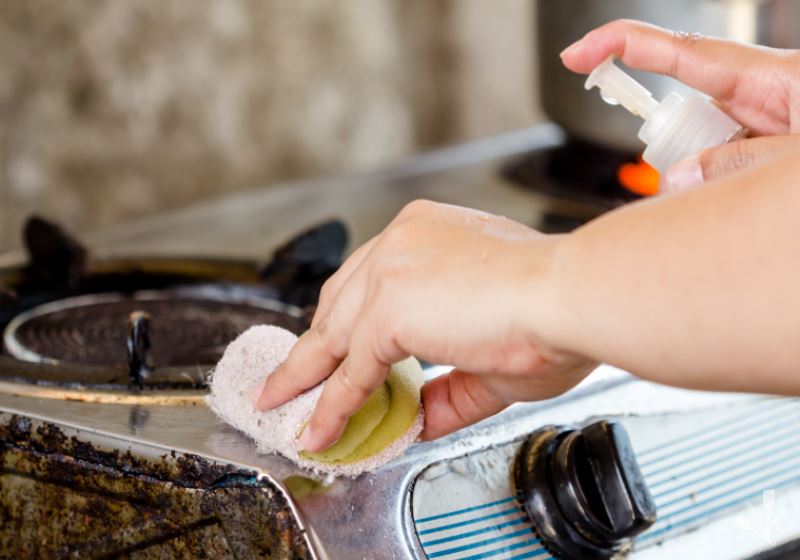
The first thing is to make sure that you remove the Drip Pan. However, before you do that, make sure that they are completely cool. Clean each and every crumb you can find on the pans. Once that is done, put it under the tap with the hottest water possible. This will help you further make sure that all the grease and stuck crumbs are washed away.
Step 2: Mix Baking Soda and Liquid Dish Soap
This is where the liquid dish soap and baking soda comes into use. Make a mixture of them both in a small bowl with a 1:1 ratio. To further simplify things, you can take both of them half cup, and always go for more later if you need to.
Step 3: Coat Drip Pan
You can use a pastry brush (if you have one) or your fingers to coat the Drip Pan with the mixture that you have just prepared. Even if you do not have a pastry brush, it is completely fine. However, you would have to be prepared to clean up the gunk with your fingers then. Some of the gunk will start coming off right away and for the rest, follow the next step.
Step 4: Wait an Hour
If following the above three steps was not enough to make your Drip Pan shine, then this will. After applying the mixture on your Drip Pan, place them somewhere in your kitchen for an hour. The stuck gunk will start to loosen up. If you do not like waiting, then you can spend the hour cleaning your stove. After all, newly washed Drip Pan, with an old stove do not really go well together.
Step 5: Time to Clean
After an hour has passed, it is now time to get back in action. Pick your Drip Pan up, and start cleaning them again. This time you would find that the gunk would come out more easily. Use a damp rag to wipe the mixture off, and make sure that you properly dry your stove and your Drip Pan.
Step 6: Rinse
Once you have wiped most of the mixture off from your Drip Pan. It is time to rinse them. Put them under hot water again, and wait for it to do its magic. Thoroughly rinse your Drip Pan, and by now, if you do find any dirty spots, scrub brush and sponge will take care of it.
Step 7: Return to the Stove
Once all is set in done, now you can enjoy your pristine Drip Pan. Put them back on your stove, and enjoy looking at how crystal clear they have become.
 Method 2: Use Ammonia to Cut Grease
If you do not like all the scrubbing that is required for the method above, then you will love this one. This method may be a bit more time consuming, but it gets the job done. However, you will need stronger cleaners and extra soaking if you want to have a shiny stove and Drip Pan. Normally it is best to follow this method after you have had your last meal of the day.
Tools and Materials Required
- Household Ammonia
- Dishtowel
- Sponge
- Zip-top plastic bags (one gallon)
- Liquid Dish Soap
Step 1: Cool and Rinse
Similar to method one, make sure that your Drip Pan are completely cool. Once you make sure of that, put them under hot water to thoroughly rinse them. After that, take out the plastic bags and seal the Drip Pan inside them.
Step 2: Add Household Ammonia
Add household ammonia to each bag, but not more than a quarter cup. Some people think that they need to completely coat the Drip Pan with ammonia. However, this is not necessary. The fumes alone would do the trick in completely loosening up the gunk.
Step 3: Seal the Bags
Find a safe spot in your kitchen and stack the tops there to leave them overnight. It is recommended to leave the Drip Pan inside the bags for at least 8-12 hours. This is one of the reasons why it is recommended to do this after your last meal of the day.
Step 4: Open the Bags
Once enough time has passed, take the bags to a ventilated location (to avoid strong fumes) and open them. Safely remove the Drip Pan and throw the bags.
Step 5: Wipe Dirty Spots
If there are still any dirty spots on the pans, then do not worry. Simply use your sponge and completely clean your Drip Pan without any effort. Once you feel satisfied and think they are clean enough, move to the next step.
Step 6:
Rinse the Drip Pan under hot water, and make sure that you properly dry them. Once everything is set and done, then they are ready to return to your stove once again! If you follow this method, it would leave you in awe that how effortless cleaning the Drip Pan would become. It would look as if you have brought a completely new pair of Drip Pan!
Bottomline
It is without a doubt that cleaning the Drip Pan can be extremely time-consuming and difficult. However, by following the methods we discussed above, the process can become much easier. If you do not like scrubbing, then the second method may be the best for you. Even if it does take some time, you would not have to do much except to wait. So make sure that the Drip Pan become the last thing that you have to worry about and follow our tips to clean them effortlessly.