Table of Contents
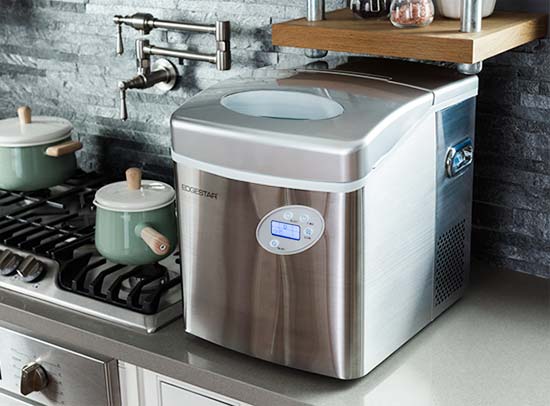
 Ice Makers can be real lifesavers, especially during hot and humid weather. However, it’s a known fact that any equipment dealing with water can become filthy over time. It can go to a point where you start seeing moulds and slime starting to cover the edge of your Ice Maker.
This condition of your Ice Maker can directly affect the health of you and your family. How? You may wonder… Well, there comes a point where if you neglect the cleanliness of your Ice Maker, the remains can start contaminating the ice.
This is why you may smell something stingy from your ice. If that’s not all, you may also find some small particles frozen on the top layer of your ice.
Lack of cleanliness is one factor that can affect your health directly. The quality of your Ice Maker is another major aspect that gets affected by the lack of cleanliness
Ice Makers usually form a layer of hard ice during the freezing cycle. This layer can potentially damage the non-stick coating inside your equipment.
The damaged non-stick coating compromises the quality of ice production. Therefore, you may notice the quality of ice going down the hill, and in some instances, ice may taste a bit different.
This is why cleanliness and regular maintenance of your Ice Maker is highly recommended. So, In order for you to know how to clean an Ice Maker, we address all your concerns in this article.
Why Is It Important To Clean Your Ice Maker?
Of course, you wouldn’t want to have something contaminated with germs going down in your system now, would you? However, speaking in terms of scientific facts, here’s why it is important for you to clean your Ice Maker.
Reason #1: To Get Rid Of Hard Water
It’s a fact that when the water is stagnant it can be the birth cause of many illnesses. Hard water, in the case of Ice Maker, can lead to some serious problems and issues. Hard water is known to have microscopic sediments and traces of minerals found in it.
Unfiltered hard water leads to the birth of many microscopic organisms. These microorganisms are definitely something you’d definitely want to keep away from, let alone your Ice Maker.
Reason #2: To Make Sure The Parts Of Ice Maker Do Not Clog Up
One of the most common issues Ice Maker face is some parts of the machine getting jammed or clogged up. This happens so because of two culprits. Rust and dust.
If your Ice Maker is left neglected, then chances of the parts weakening multiply by a lot. The built-up inside leads to clogging, therefore, it eventually leads towards diminishing the useful life of your Ice Maker.
How Often Should You Clean Your Ice Maker?
On average, it is best that you clean your Ice Maker after every 3 to 4 months. However, it depends on the make of your Ice Maker machine.
Usually, the frequency of cleaning required by an Ice Maker depends on its model and brand. Still, there are certain signs and physical appearances that indicate that your machine requires cleaning.
Few of those indicators can be:
- Smelly ice
- Ice Maker filled with a strange odour
- Ice taking a lot of time to freeze
- The Ice Maker is too cloudy
- Mould, scale, and slime is found inside the Ice Maker
How To Clean Ice Maker? – An Easy Step By Step Guide
Before preparing to clean your Ice Maker, here is a list of materials you will require while cleaning.
- Dry cleaning cloth
- A dish-washing detergent
- A sponge, toothbrush and a Q-tip
- Water, preferably warm
- Scooping spoon
Step 1: Unplug Your Ice Maker
Before cleaning any electronic appliances, make sure to always unplug your equipment for the purpose of your safety. With that being said, your Ice Maker is no exception as well.
While unplugging your Ice Maker, make sure the area around the plug is absolutely dry. You wouldn’t want electricity and water mixing together for your own safety. In case, if the water reservoir is found in your Ice Maker, make sure you drain the fluid after unplugging your machine.
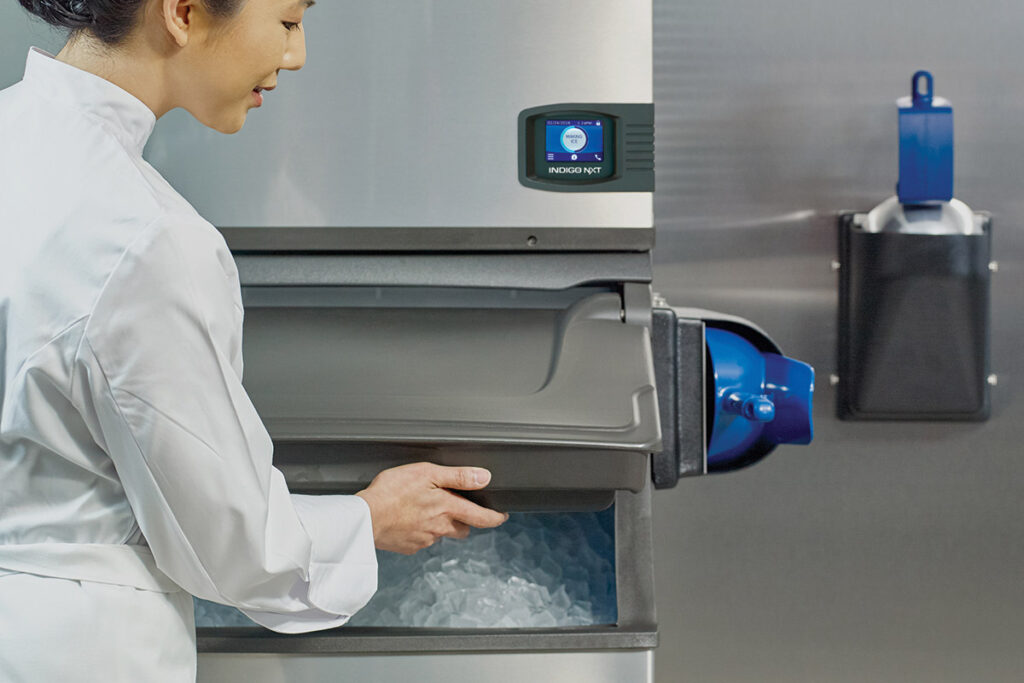
Step 2: Empty Ice Storage Compartment
Once you’ve made sure that your Ice Maker is unplugged, you can then go ahead and remove all the parts inside the ice storage bin.
If there are traces of ice cubes remaining inside the storage bin, then you can pour warm water inside. This process will allow the ice to melt. Once the ice starts melting down, you can scoop the ice using a spoon.
You can scoop the ice more easily by removing the removable parts inside your Ice Maker.
Step 3: Clean The Removable Parts Of Your Ice Maker
There are certain parts of your Ice Maker machine that should be removed gently and carefully. Some of the parts that you can find inside your Ice Maker are ice trays and perhaps the filter of your equipment.
To clean these parts, what you can do is fill your sink with water and add dish-washing detergent in it. Leave these parts in the solution for a few minutes.
Once the smudge and slime have loosened up, you can use your a sponge or a toothbrush to clean the parts gently. Afterwards, you can wipe the parts and let them dry.
To clean the filter of your Ice Maker you have to be extra careful. You can make use of Q-tips to clean the filter thoroughly.
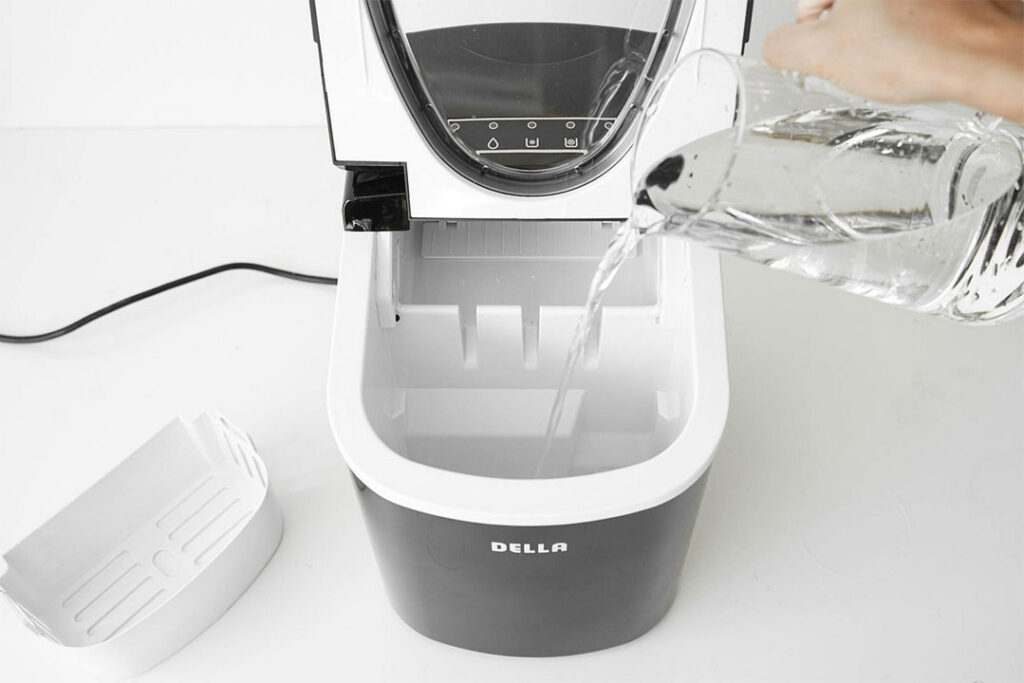
Step 4: Clean The Ice Maker
To clean the inside of your Ice Maker, make sure to use a toothbrush for scrubbing the stubborn stains and scaly deposits from the edge of your equipment. You might feel the need to use detergent water to remove the scaly deposits.
Afterwards, use a damp cloth to wipe the inside of your Ice Maker. To sanitize your Ice Maker machine, use diluted bleach water. The diluted bleach water is highly effective in driving the stingy smell away.
Once you are done cleaning, make sure that you have every spot squeaky clean. You wouldn’t want to turn on your equipment only to find out that you’ve missed a spot. Since there’s a high chance that you can forget cleaning certain parts of your equipment, therefore, it’s preferred that you clean the parts of your Ice Maker Machine.
Step 5: Run A Few Trail Cycles
Once every part of your Ice Maker is clean and put together carefully, the next step for you would be to plug in your machine.
Check whether your Ice Maker is functioning properly or not. Now allow your Ice Maker to run a few cycles. While doing so, you will notice the water reservoir emptying and the ice pin forming the ice.
The ice formed during the first few cycles will be sour, therefore, you would want to discard it. It is recommended that you discard the first two batches of ice formed in your Ice Maker. The reason being, it is highly possible for your first two batches of ice to taste sour like vinegar.
The first few trail cycles make sure that the remains of the dish-washing solution and diluted bleach have completely been taken care of and removed from your Ice Maker.
 Things You Would Want To Remember While Cleaning Your Ice Maker
Refer To The User Manual Before Cleaning Your Ice Maker
Ice Makers are different from one another. You can find many Ice Makers in the market, based on different brands and models. With that being said, the maintenance and frequency of cleaning required differ from one Ice Maker to another.
Before cleaning your Ice Maker machine, it is recommended that you read the user manual provided by the manufacturer. This can not only guide you on how to clean your Ice Maker but also assist you in answering any query that you may have.
Make Sure That Your Ice Maker Has Completely Dried
Wet or damp parts of your equipment may become a cause of an electric leak, therefore, make sure all parts of the equipment are dry.