Table of Contents
When you are investing in an ice maker, the thought of cleaning never crosses your mind. However, you must know how to clean a countertop ice maker if you own one. Cleaning an ice maker machine doesn’t only leave it spotless, but, also helps to keep the ice in the machine cleaner and safer to consume.
So, before you start obsessing about how much you don’t know how to clean an ice maker, we’ve made the job easier for you. Check out this step-by-step guide on how to clean a countertop ice maker.
Why Do I Need to Know How to Clean a Countertop Ice Maker?
Before we begin to dissect the steps to thoroughly clean your ice maker, it’s worth knowing why you want to clean it. This allows you to know exactly what you’re doing as you clean and why.
- Taste – If you don’t clean your ice maker for a while, it will begin to absorb its minerals – which can affect the taste of the ice it makes. Additionally, uncleaned ice makers develop mold and mildew over time; leaving an unpleasant taste to the ice.
- Color – Taste is not all that will be affected if you don’t clean your ice maker. Due to the mineral build up and lime scales over time, your ice will have cloudy color rather than being clear.
- Smell – When your ice maker stays long without cleaning, the interior will begin to develop an unpleasant smell. This is caused by all the minerals absorbed as well as the microorganisms’ interactions as mold and mildew are formed.
- Health – Mildew and mold in an uncleaned ice maker, will affect the taste and color of the ice made. However, this is not all that happens. The microorganisms in the mold and mildew can also make you sick.
How to Clean a Countertop Ice Maker
Now that you know why you need to know how to clean a countertop ice maker, let’s jump to the how. Below, you will find step-by-step guidelines on how to do so.
What You Will Need to Clean Your Ice Maker
- Ice maker cleaning solution
- Soft scrubbing sponge or soft bristle brush
- Soft cloth
- Warm water
- Large bucket or sink
How to Clean the Interior of an Ice Maker
Every ice maker comes with a detailed manual that also covers how to clean it. Whilst different models might have a slight variation – the general procedures are the same. We’ve broken them down for you;
- Collect all the ice in the ice maker, and discard it
- Press the clean or wash button on your machine to let water flow through the dump valve and into the drain
- Wait until the trough is refilled –for at least a minute or two – add cleaning solution for countertop ice makers (the amount depends on the ice maker manual thus, refer to the manual)
- After you add the cleaning solution, the ice maker will begin to clean itself. Therefore, wait for the cleaning cycle to complete. The cleaning cycle can take anywhere between 20 and 80 minutes, depending on the model and size.
- When the cycle is complete, remove the interior components of the ice maker such as the ice dispenser/bin and other similar items. Then, unplug it.
- Make a cleaning solution blend by mixing 8 parts of water with a single part of the ice maker cleaning solution. The amount required is determined by many factors which include the ice maker model, size, and magnitude of the mineral build up.
- Divide the solution blend by half. Use the first half to clean the components in a large bucket or sink.
- To clean the components, first, soak them in the solution. You will notice that they foam. Leave them in the solution until they stop foaming.
- Use a soft bristle brush or non-abrasive sponge to gently scrub each component; removing any mineral build up or limescale. When done, rinse each part of the ice maker using clean and warm water.
- Use the second half of the cleaning solution blend to clean the interior surfaces of the ice maker, evaporator, bin, and dispenser. It is recommended to use a soft cloth or nylon brush when cleaning these surfaces to prevent scratching them.
- Soak a dry, clean soft cloth in clean water and use it to rinse the surfaces to remove the cleaning solution chemicals so your ice maker is not contaminated.
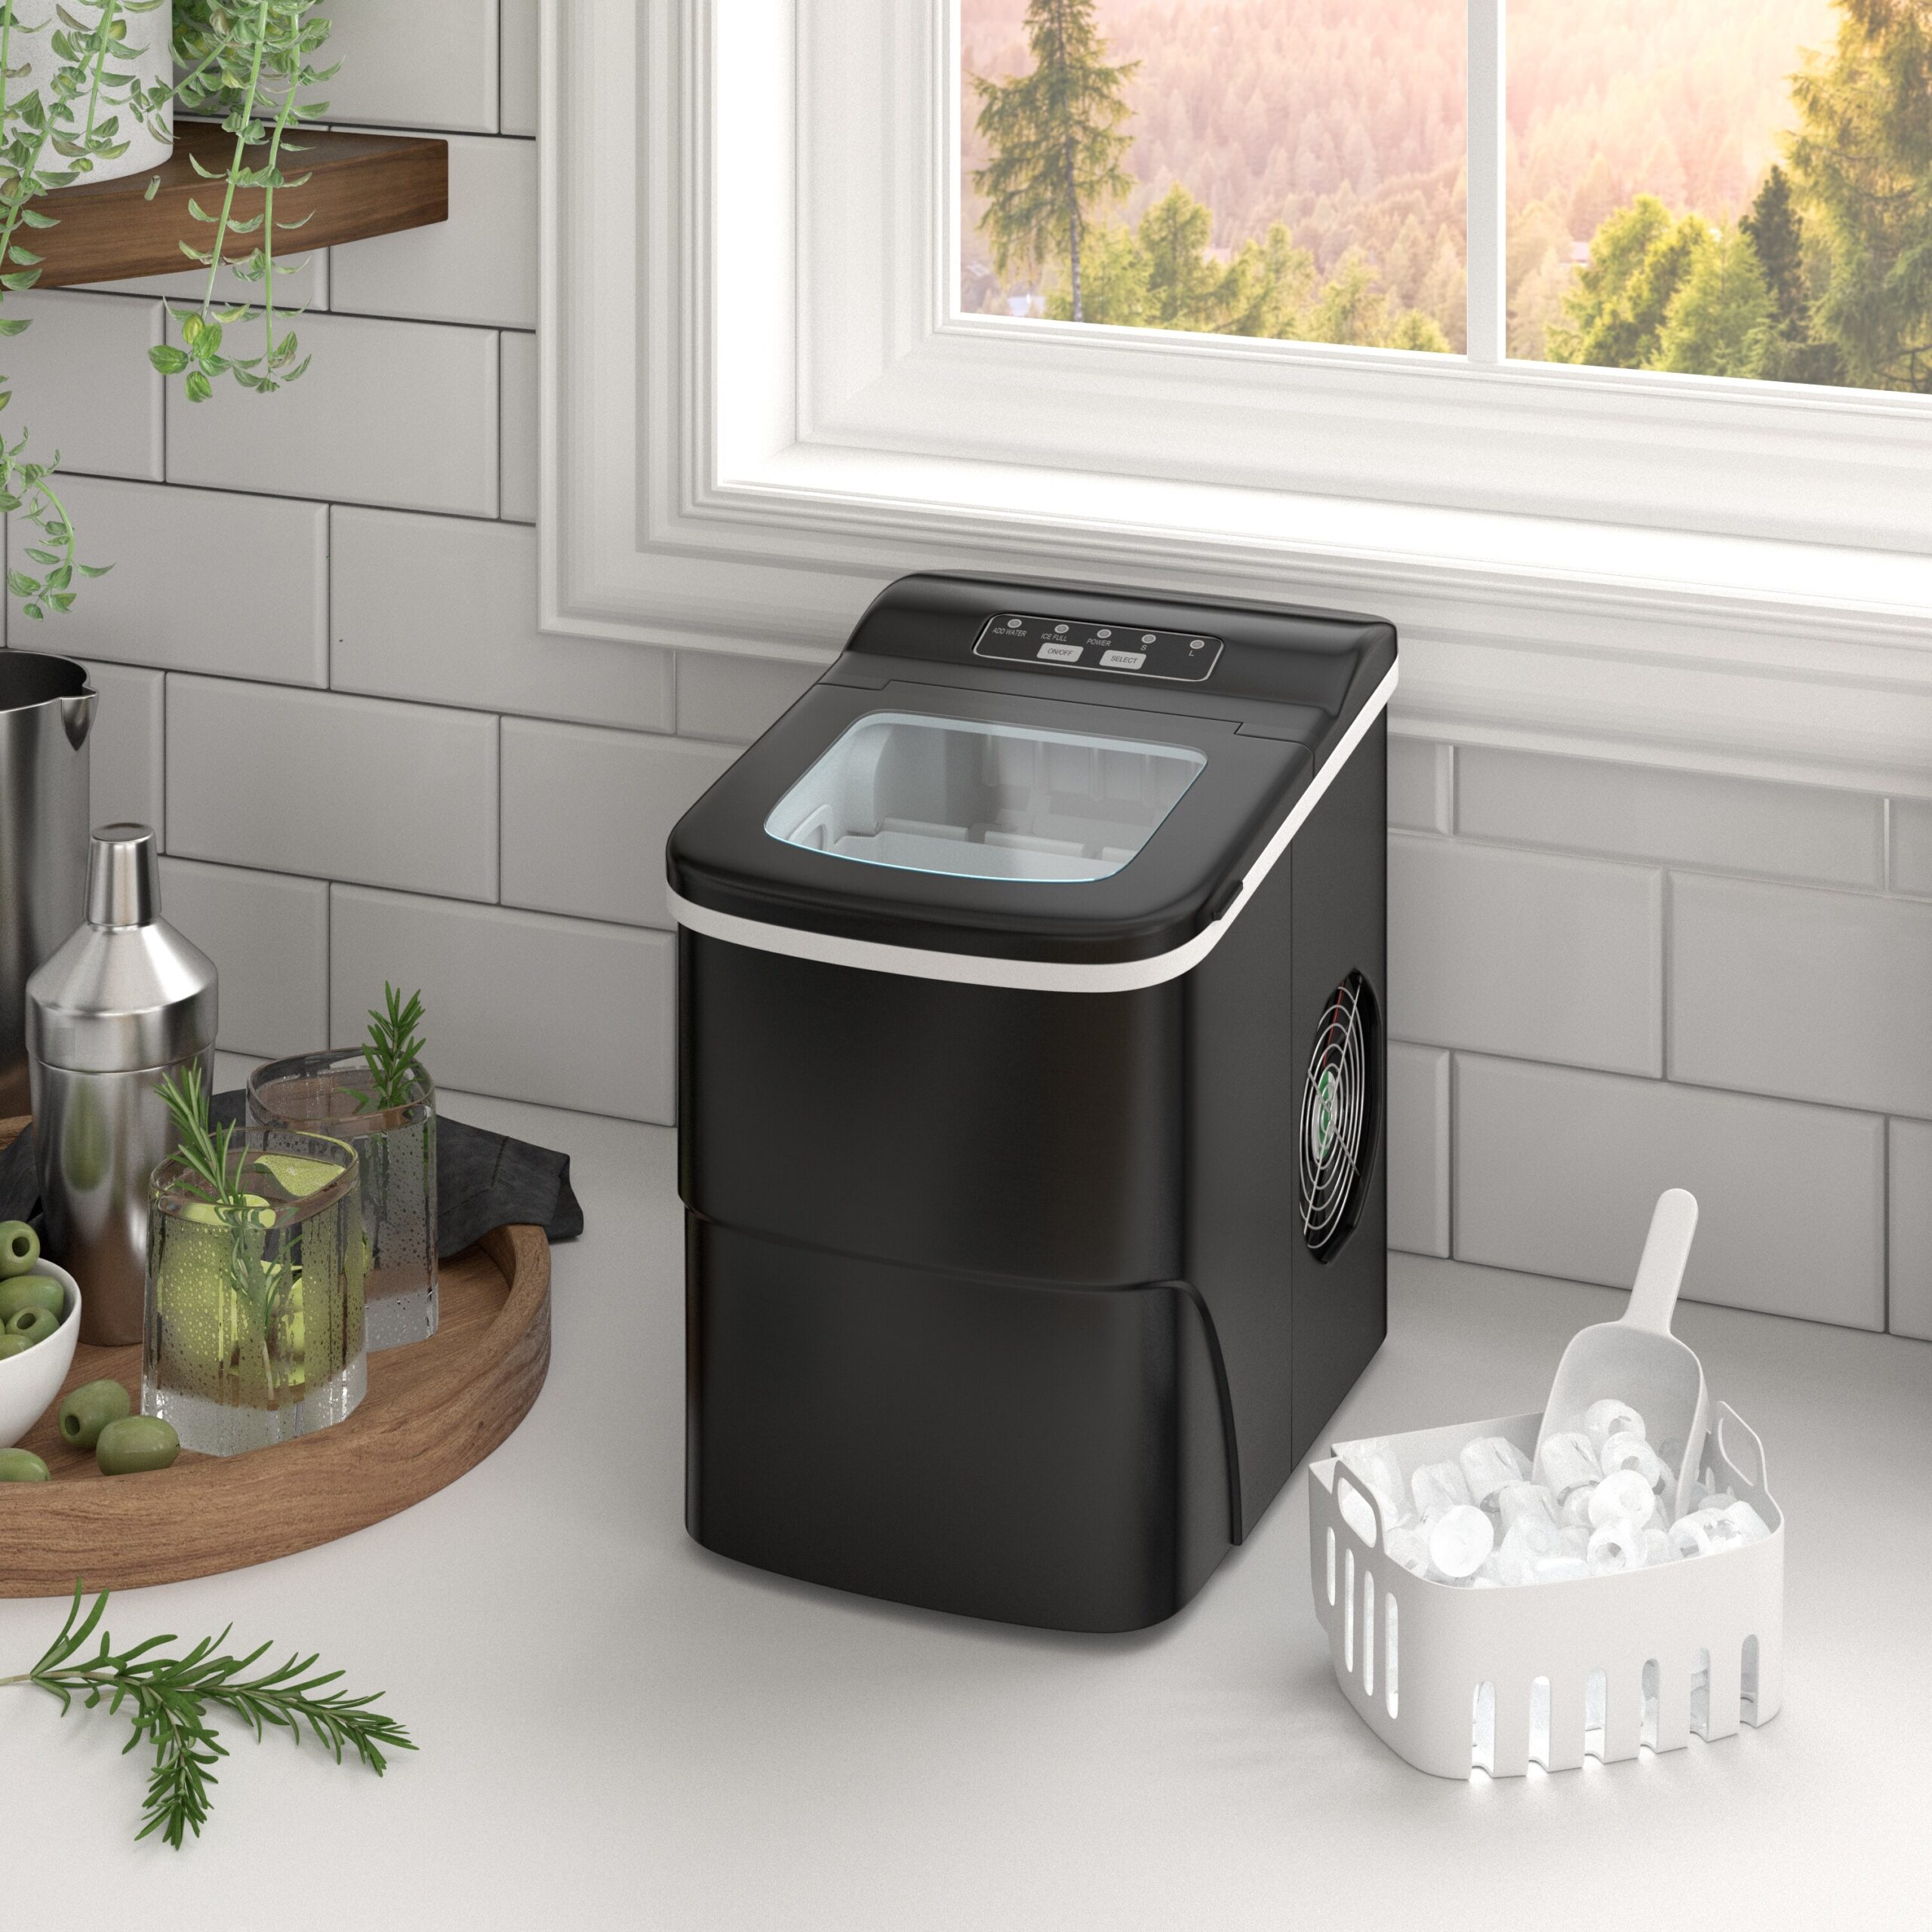
 How to Clean the Exterior of an Ice Maker
Contaminants from outside your ice maker’s surface can easily penetrate the interior. Therefore, other than making it look spotless, cleaning the exterior of your ice maker rids it of contaminants. To clean the exterior surface, simply wipe down all the areas using a clean and damp soft cloth. Never use abrasive brushes or sponges for the exterior as this will damage the surfaces.
Cleaning the exterior should not be designated to a single day but rather do it frequently even when you are using the ice maker. If ice accidentally falls on the countertop surface around, wipe it off immediately to prevent stain build up. Depending on your kitchen set up, grease can sometimes build up on the surface of your ice maker.
To get rid of the grease, mix water with mild soap and then soak a soft cloth. Wipe out the grease using the soaked cloth. If you have strong grease stains, you can use citrus based or chlorinated cleaners around the exterior panels or plastic areas. Alternatively, you can opt for an ice maker model with a built-in degreaser.
Conclusion
Sometimes, you may have an extremely demanding schedule that you are unable to track your cleaning. Therefore, to make it easier to know when and how to clean a countertop ice maker, watch out for the obvious signs.
If you notice a decreased ice making capacity, incomplete or shallow cubes produced, unpleasant odor when you open the machine, cloudy ice, or no release of ice at all, your ice maker most certainly needs cleaning. For optimum performance, make it a point to clean up the ice maker’s filter and condenser every 6 months.